Infection Control Surface Planning for Med Spas
Plan smooth, sealed, nonporous surfaces and clear cleaning schedules so med spas can disinfect quickly between patients.
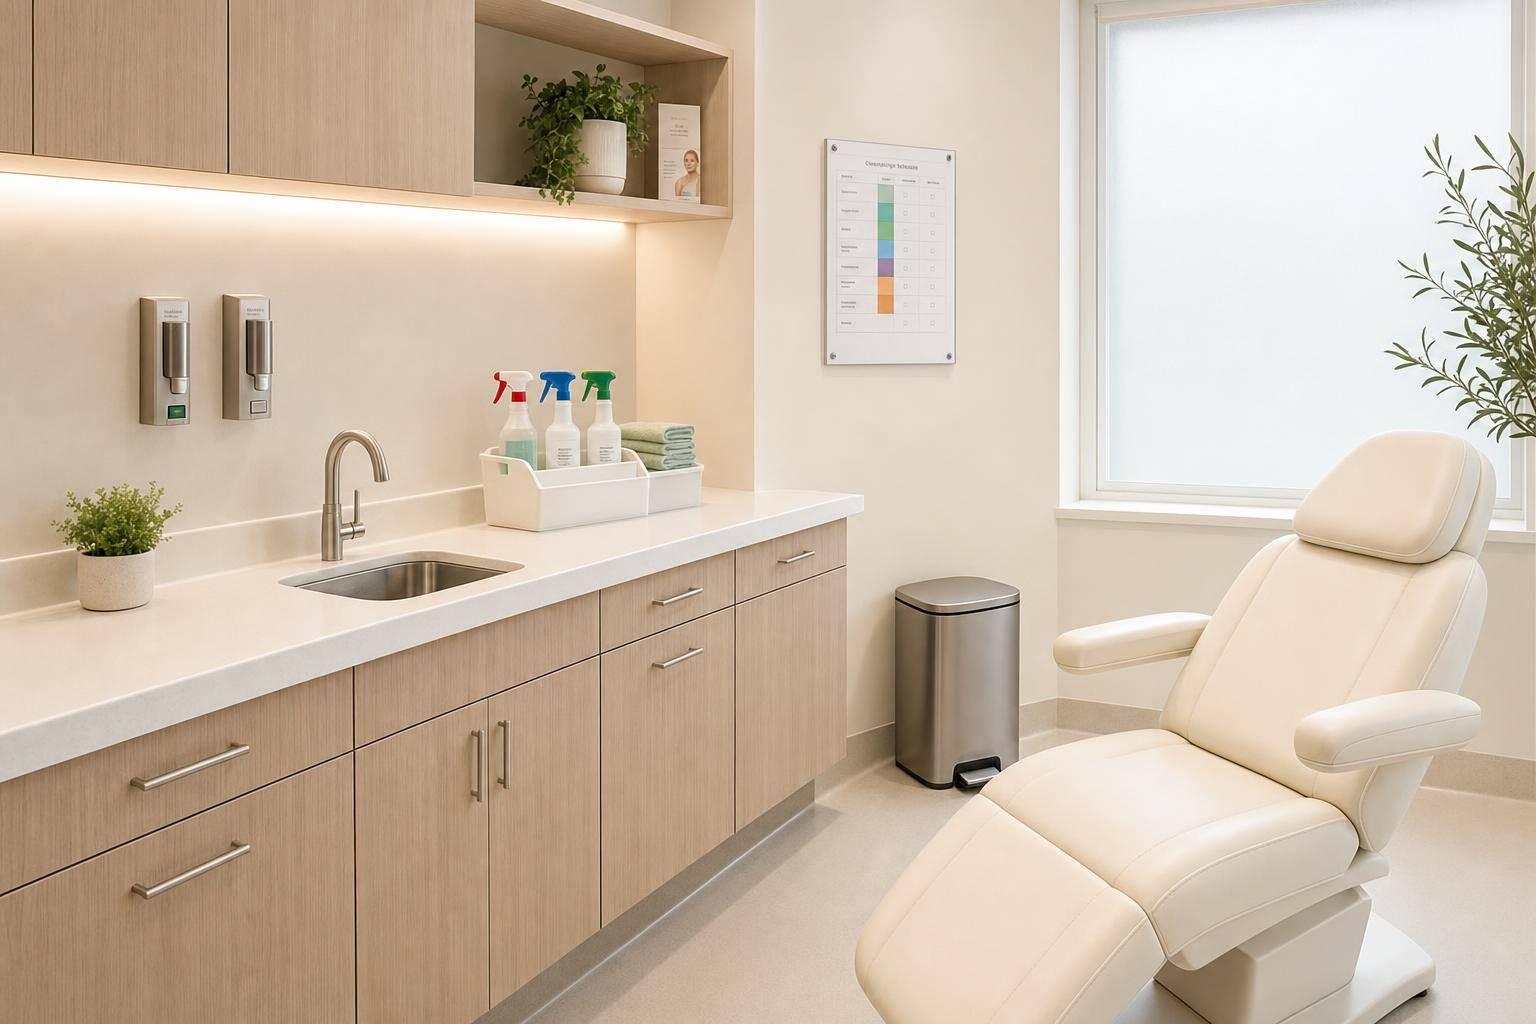

If a surface can’t be cleaned fast and fully, it can become a problem between patients. In a med spa, I’d treat surface planning as part of infection control: pick smooth, sealed, nonporous, moisture-resistant materials that hold up to daily disinfectants, then pair them with a clear cleaning plan.
Here’s the short version:
- I’d use simple, hard surfaces for floors, walls, counters, and treatment areas
- I’d cut down seams, grout lines, cracks, and textured details that trap soil
- I’d pick finishes that can handle repeat wipe-downs between every patient
- I’d use sheet goods or resin floors in wet and treatment zones when possible
- I’d keep sink walls and backsplashes smooth and sealed
- I’d replace torn upholstery, failed caulk, cracked laminate, and peeling finishes right away
- I’d assign cleaning frequency by touch level so room resets don’t rely on memory
A few facts stand out: high-touch surfaces can carry bacteria like Staphylococcus aureus even when they look clean, and damaged finishes can block proper disinfection. That means looks alone are not enough. Cleanable design matters just as much as daily wiping.
What I take from this article is simple: good infection control starts before the first patient arrives - with the surfaces you install, the joints you seal, and the checklist your staff follows every shift.
Surface Requirements That Address Common Cleaning Problems
Choose smooth, nonporous, moisture-resistant, disinfectant-compatible materials
Start with surfaces that are hard, smooth, nonporous, and able to handle your clinic’s disinfectants. Good options include sealed solid surfaces, glazed tile with as little grout as possible, and healthcare-grade sheet vinyl with heat-welded or sealed seams. Porous materials tend to hang onto residue, which slows down disinfection.
Each finish should also match the disinfectants your clinic uses every day. Most liquid disinfectants are made for hard, nonporous surfaces, so your material choices should line up with your cleaning protocol. If they don’t, repeated disinfection can wear those finishes down over time. It’s worth checking chemical-resistance documentation for the exact products used in your clinic.
Then carry that same standard across the room: floors, walls, counters, and wet areas.
Reduce seams, grout lines, cracks, and decorative detailing
Seams, grout lines, and decorative edges give residue places to hide. They’re also easy to miss during routine wiping. Carved trim, raised cabinet panels, open shelving with fussy profiles, rough stone textures, and other detailed surfaces make cleaning slower and inspection harder. More surface detail usually means more missed spots and slower turnover.
Simple surfaces work better. Flush cabinet fronts, tight sealed joints, and smooth transitions between materials are easier to wipe and easier to check. Where floors meet walls, integral coved bases - a curved, sealed transition instead of a square corner - help stop moisture and debris from building up. The same idea applies to countertop edges, backsplash joints, and plumbing fixtures: keep them sealed and simple.
That same approach makes a difference at counters, sinks, and equipment stations, where staff clean over and over throughout the day.
Match surface durability to room turnover and procedure volume
Choose finishes that can take daily disinfection without falling apart. High-turnover treatment rooms need materials built for repeated contact, frequent chemical exposure, and the wear that comes from carts, trays, chairs, and equipment moving in and out all day. In short, pick finishes that can handle repeated room resets.
Decorative finishes make more sense in nonclinical spaces. In treatment rooms, put durability first. Healthcare-grade laminate with sealed edges, solid-surface composites, and poured epoxy flooring are often better suited to the cleaning frequency these rooms demand, especially at seams and joints. The goal is simple: use surfaces that stay intact after repeated wipe-downs.
Apply those same standards first to floors, walls, and wet areas, where cleaning speed and moisture control matter most.
sbb-itb-02f5876
Reading about the problem? See how Prospyr solves it in one platform.
Book a DemoHow to Plan Floors, Walls, and Wet Areas for Fast, Repeatable Cleaning
Floors: cleanable surfaces, sealed transitions, and slip resistance
Once your material requirements are set, the next move is simple: put the right finish where cleaning gets hit the hardest.
Floors show tracked-in dirt fast when the surface is tough to clean. Healthcare-grade sheet vinyl with heat-welded seams is a smart fit for treatment rooms and handwashing areas. It goes in as one near-continuous surface with very few joints, so there are fewer spots for dirt to settle. That helps staff turn rooms over faster between appointments.
Use an integral coved base to remove the floor-to-wall joint. That detail gets rid of one of the easiest places for moisture, dust, and product residue to build up. It also makes mopping simpler because the surface stays continuous.
Wet zones need as few seams as possible and a surface that wipes down fast. Around sinks, beverage stations, and showers or hydrotherapy rooms, continuous sheet goods or resinous flooring with sealed joints are easier to maintain than small-format tile with open grout lines.
Slip resistance matters. But more texture isn't always better. Deep embossing and heavy grain can hold onto residue and slow mopping. A lightly textured surface usually makes more sense, as long as it meets wet-area slip-resistance needs without turning into a dirt trap.
A simple rule of thumb:
- Use sheet goods or resinous flooring in treatment and wet areas
- Save tile, LVT, and sealed concrete for lower-splash or back-of-house spaces
Where two flooring types meet, like at a treatment room threshold, make sure the joint is sealed. Divider strips and healthcare-rated caulking help stop gaps from opening up over time. If that threshold stays unsealed, it can become one of those small issues that keeps coming back during cleaning.
Walls and backsplashes: use smooth finishes in treatment and sink-adjacent zones
After the floor, walls around sinks and treatment stations tend to take the next biggest hit.
Use smooth wall finishes in treatment rooms and around sinks. High-quality semi-gloss or epoxy paint over properly prepared drywall works well for most treatment room walls. But the area right behind sinks and counters needs more protection. Near treatment chairs, handwashing sinks, and prep counters, solid-surface or compact laminate panels with sealed edges and minimal joints hold up better than painted drywall alone, especially when splash is constant.
Backsplashes behind handwashing sinks should extend at least 18–24 inches above sink level and, if possible, run wide enough to catch splash under soap dispensers and paper towel holders. A one-piece solid-surface counter-and-backsplash unit removes the joint between the counter and wall, which helps limit moisture getting in and lowers the risk of microbial growth.
Textured wallcoverings, wood slats, and ornate trim are hard to disinfect near treatment chairs or sinks. Their grooves and fibers hold dust, skin cells, aerosols, and product residue in places routine wiping may miss.
Keep decorative finishes for dry, low-touch spaces. In rooms where procedures happen or hands are washed, the safer call is a wall finish that is smooth, sealed, and tested against the clinic's disinfectants before installation.
How to Design High-Touch Counters and Treatment Surfaces for Daily Disinfection
Counters and work surfaces: separate clean supplies from used items
Floors and walls matter. But the toughest daily wipe-downs usually happen on counters, chairs, and hardware.
The counters staff use most often - near sinks, charting stations, and product-prep areas - should be made from materials that can take daily disinfection without breaking down. Solid surface, engineered quartz, high-pressure laminate with sealed edges, and stainless steel all resist liquid absorption and stand up to repeated wipe-downs with healthcare disinfectants.
Details matter here. Go with simple, sealed edges and skip decorative profiles that collect soil. Around sink cutouts, sealed undermount or integrated sinks can help cut down on silicone joints and caulk lines, which are harder to clean and can support microbial growth if they start to fail.
It also helps to split each counter into clean and soiled zones. If staff don't have enough open space, clean supplies tend to drift right next to used items. Every treatment room counter should include:
- a defined clean zone for unopened supplies
- a separate dirty zone near the sink or waste container
- physical separation or labeled bins to keep the two apart
The same idea applies to every surface staff touch during room reset.
Treatment chairs, tables, and upholstery: replace porous or damaged finishes
Medical-grade vinyl or polyurethane-coated upholstery is a common pick because, when it's intact, it is nonporous and can handle repeated use of EPA-registered disinfectant wipes - as long as the wipe is compatible with the upholstery chemistry.
Untreated woven fabrics don't belong on high-touch surfaces. Cloth furnishings have been shown to harbor higher concentrations of fungi, and bacteria cannot be effectively removed from their surfaces. That's a big problem in a room that gets turned over again and again.
Armrests and headrests should have large, continuous surfaces with few seams and no tufting or piping. That way, staff can wipe them in one pass instead of working around stitched channels that hold onto residue.
Torn, cracked, or peeling upholstery isn't just a cosmetic issue. It's an infection-control problem. Once the surface coating is broken, disinfectants can't reliably reach microbes embedded in the foam underneath. On top of that, organic matter trapped in tears can reduce disinfectant effectiveness. Damaged chairs or tables should be removed from service right away.
High-touch hardware: simplify handles, pulls, switches, and controls
Door handles, cabinet pulls, faucet controls, and device controls get touched over and over all day. So the goal is pretty simple: choose hardware with smooth, sealed surfaces and as few seams as possible.
Lever-style door handles with smooth, slightly rounded profiles are easier to disinfect than knobs. They can also be used with an elbow or forearm, which cuts down on direct skin contact. For cabinets, bar-style or recessed pulls with clean lines tend to work better than decorative hardware with layered parts or deep grooves. And for device controls on laser platforms, RF units, or injectables carts, flat touch panels are much easier to wipe down than toggle switches or textured knobs.
Before you lock in any hardware, check that the finish works with your clinic's disinfectants. Some plated or specialty finishes can spot, corrode, or turn cloudy with frequent chemical exposure. That's much easier to deal with during product selection than after installation.
Once these surfaces are selected, assign cleaning frequency and turnover tasks based on touch level.
Connecting Surface Planning to Daily Operations and Accountability
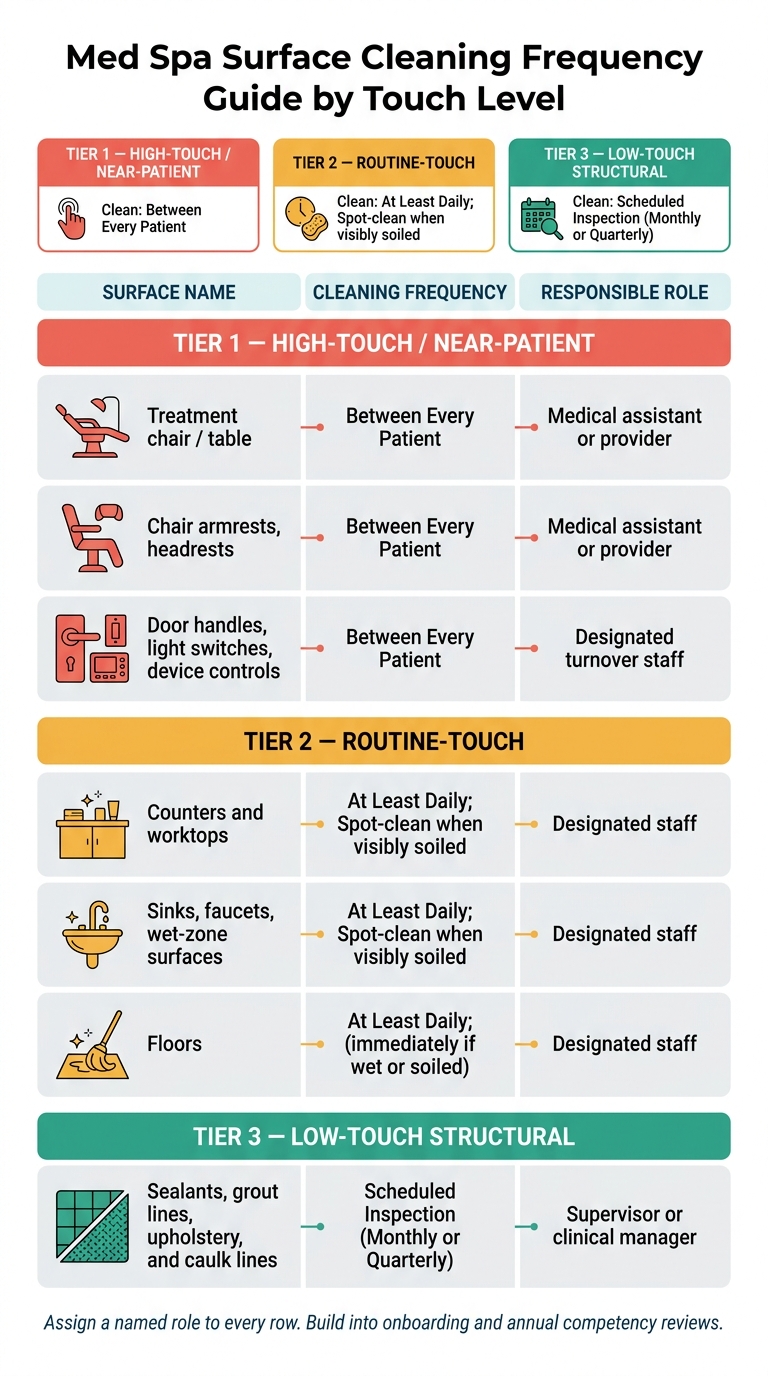
Med Spa Surface Cleaning Frequency Guide by Touch Level
Set cleaning frequency by surface type and touch level
After you choose the surfaces, the next step is simple: turn that list into a cleaning schedule people can use during every shift. Put it into a written cleaning matrix that spells out when each surface gets cleaned and who owns the task for floors, walls, counters, and treatment-room surfaces across the clinic.
| Surface | Touch Level | Minimum Cleaning Frequency | Responsible Role |
|---|---|---|---|
| Treatment chair / table | High-touch, near-patient | Between every patient | Medical assistant or provider |
| Chair armrests, headrests | High-touch, near-patient | Between every patient | Medical assistant or provider |
| Door handles, light switches, device controls | High-touch | Between every patient | Designated turnover staff |
| Counters and worktops | Routine-touch | At least daily; spot-clean when visibly soiled | Designated staff |
| Sinks, faucets, wet-zone surfaces | Routine-touch | At least daily; more often as needed | Designated staff |
| Floors | Routine-touch | At least daily; immediately if wet or soiled | Designated staff |
| Sealants, grout lines, upholstery, and caulk lines | Low-touch structural | Scheduled inspection (monthly or quarterly) | Supervisor or clinical manager |
Every row should have a named role tied to it. Then take that matrix and turn it into a room-by-room checklist staff can follow without guesswork. It also helps to fold that checklist into onboarding and annual competency reviews, so the process becomes part of how the clinic runs day to day.
Use workflow tools to track room turnover and surface-related tasks
Once the matrix is set, build it into room turnover so task completion is tracked instead of assumed. Use Prospyr to attach a required room-turnover checklist to each appointment, track room readiness in real time, and flag slow turnovers or missed tasks in analytics.
Because the platform is HIPAA-compliant, patient identifiers stay protected while room-level turnover status is monitored. Over time, practice analytics can show patterns that are easy to miss in the rush of a workday. For example, managers may spot rooms that keep running long on turnover or shifts where task completion drops. That gives them a clear path to retrain staff, adjust coverage, or look at whether certain materials are getting harder to clean in daily use.
Conclusion: keep surfaces simple, sealed, durable, and easy to clean
Surface planning works best when daily operations back it up. Good materials still need a clear cleaning schedule, defined staff roles, and a way to confirm the work happened. Wet areas, high-touch zones, and treatment surfaces need the most attention both during design and in day-to-day workflows. When materials and workflows line up, cleaning becomes repeatable.
FAQs
What surfaces should a med spa avoid?
Med spas should avoid porous materials because they’re harder to clean and can trap soil over time.
In treatment rooms, flooring, countertops, and other surfaces should be non-porous, medical grade, and able to handle regular use of EPA-registered hospital disinfectants without wearing down.
How often should high-touch surfaces be disinfected?
Disinfect high-touch surfaces between each patient as part of a steady room-turnover routine. If you see blood or any other contamination, disinfect those surfaces right away.
Stick to the written cleaning and decontamination schedule for each area. Log completion times so they can be checked during inspection. And use the manufacturer's reprocessing instructions to make sure your EPA-registered hospital disinfectant stays on the surface for the proper contact time.
When should damaged finishes be replaced?
Replace damaged finishes as soon as they stop supporting proper infection control. When cracks, peeling, or deep scratches weaken a non-porous surface, repair or replace it right away.
If a surface can’t be fully cleaned or disinfected under your written decontamination schedule, it becomes a clinical risk and falls short of safety standards.